Photoshop is a powerful tool offering endless creative possibilities, one of which is adding various types of textures to your digital art. Today, we will hone in on how to enhance your images with paper textures, ranging from a clean folded paper texture to a rustic old paper look.
Why add a paper texture? The simple addition of a texture can make all the difference. Whether it's crumpled, grunge, or ripped, a paper texture overlay can transform your digital artwork by adding a touch of realism and tactility. And it's not just about aesthetic appeal. It can lend an air of nostalgia, a rustic charm, or simply set your work apart from the rest.
Understanding resolution in terms of textures is crucial. A higher resolution texture will have more detail, leading to a more realistic outcome. But keep in mind, it's all about balance as a high-resolution texture could also result in longer loading times and larger file sizes.
Step 1: Select Your Paper Texture
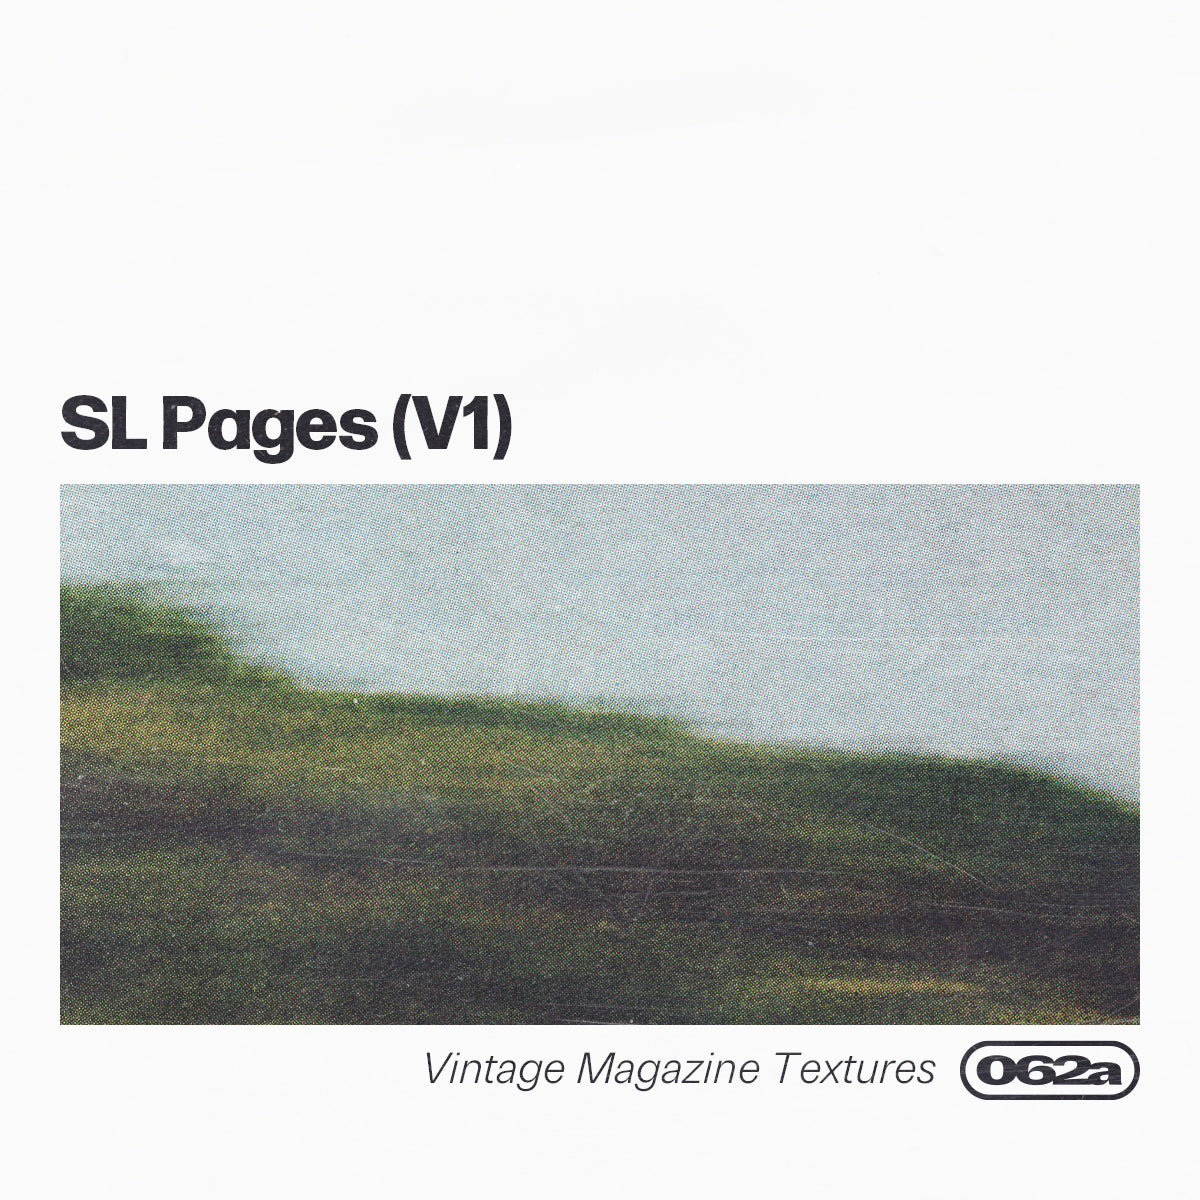
Firstly, you'll need to choose your paper texture. We offer an extensive array in our Texture Collection, featuring everything from old paper textures to folded paper textures, and grunge styles. Paper Vol. 1 has a variety of high-resolution textures for your exploration. For a more distressed, unique look, don't forget to check out Grunge Paper.
Step 2: Open Your Image in Photoshop
Once your texture is selected, open the image you want to modify in Photoshop. Navigate to File > Open, and select your image.
Step 3: Incorporate the Paper Texture
To apply the paper texture overlay, go to File > Place (or Place Embedded, depending on your Photoshop version), and select your preferred paper texture. This will position the texture over your image.
Step 4: Resize Your Texture
Next, resize your texture to match your image. Drag the corners of the texture layer until it perfectly fits your image.
Step 5: Modify the Blending Mode
Now, let's add some magic. Adjust the blending mode of your paper texture to create a range of effects. For instance, the 'Multiply' mode darkens the image, mimicking an old paper effect, while 'Screen' lightens it.
Step 6: Adjust Opacity and Explore Other Effects
You can control the intensity of the texture by adjusting the opacity of the texture layer. Feel free to play with other Photoshop tools like 'Warp' to emulate a folded or crumpled paper texture, or 'Distort' for a more grunge vibe.
Step 7: Save Your Masterpiece
Once satisfied with your result, remember to save your work. Go to File > Save As, and choose your desired format.
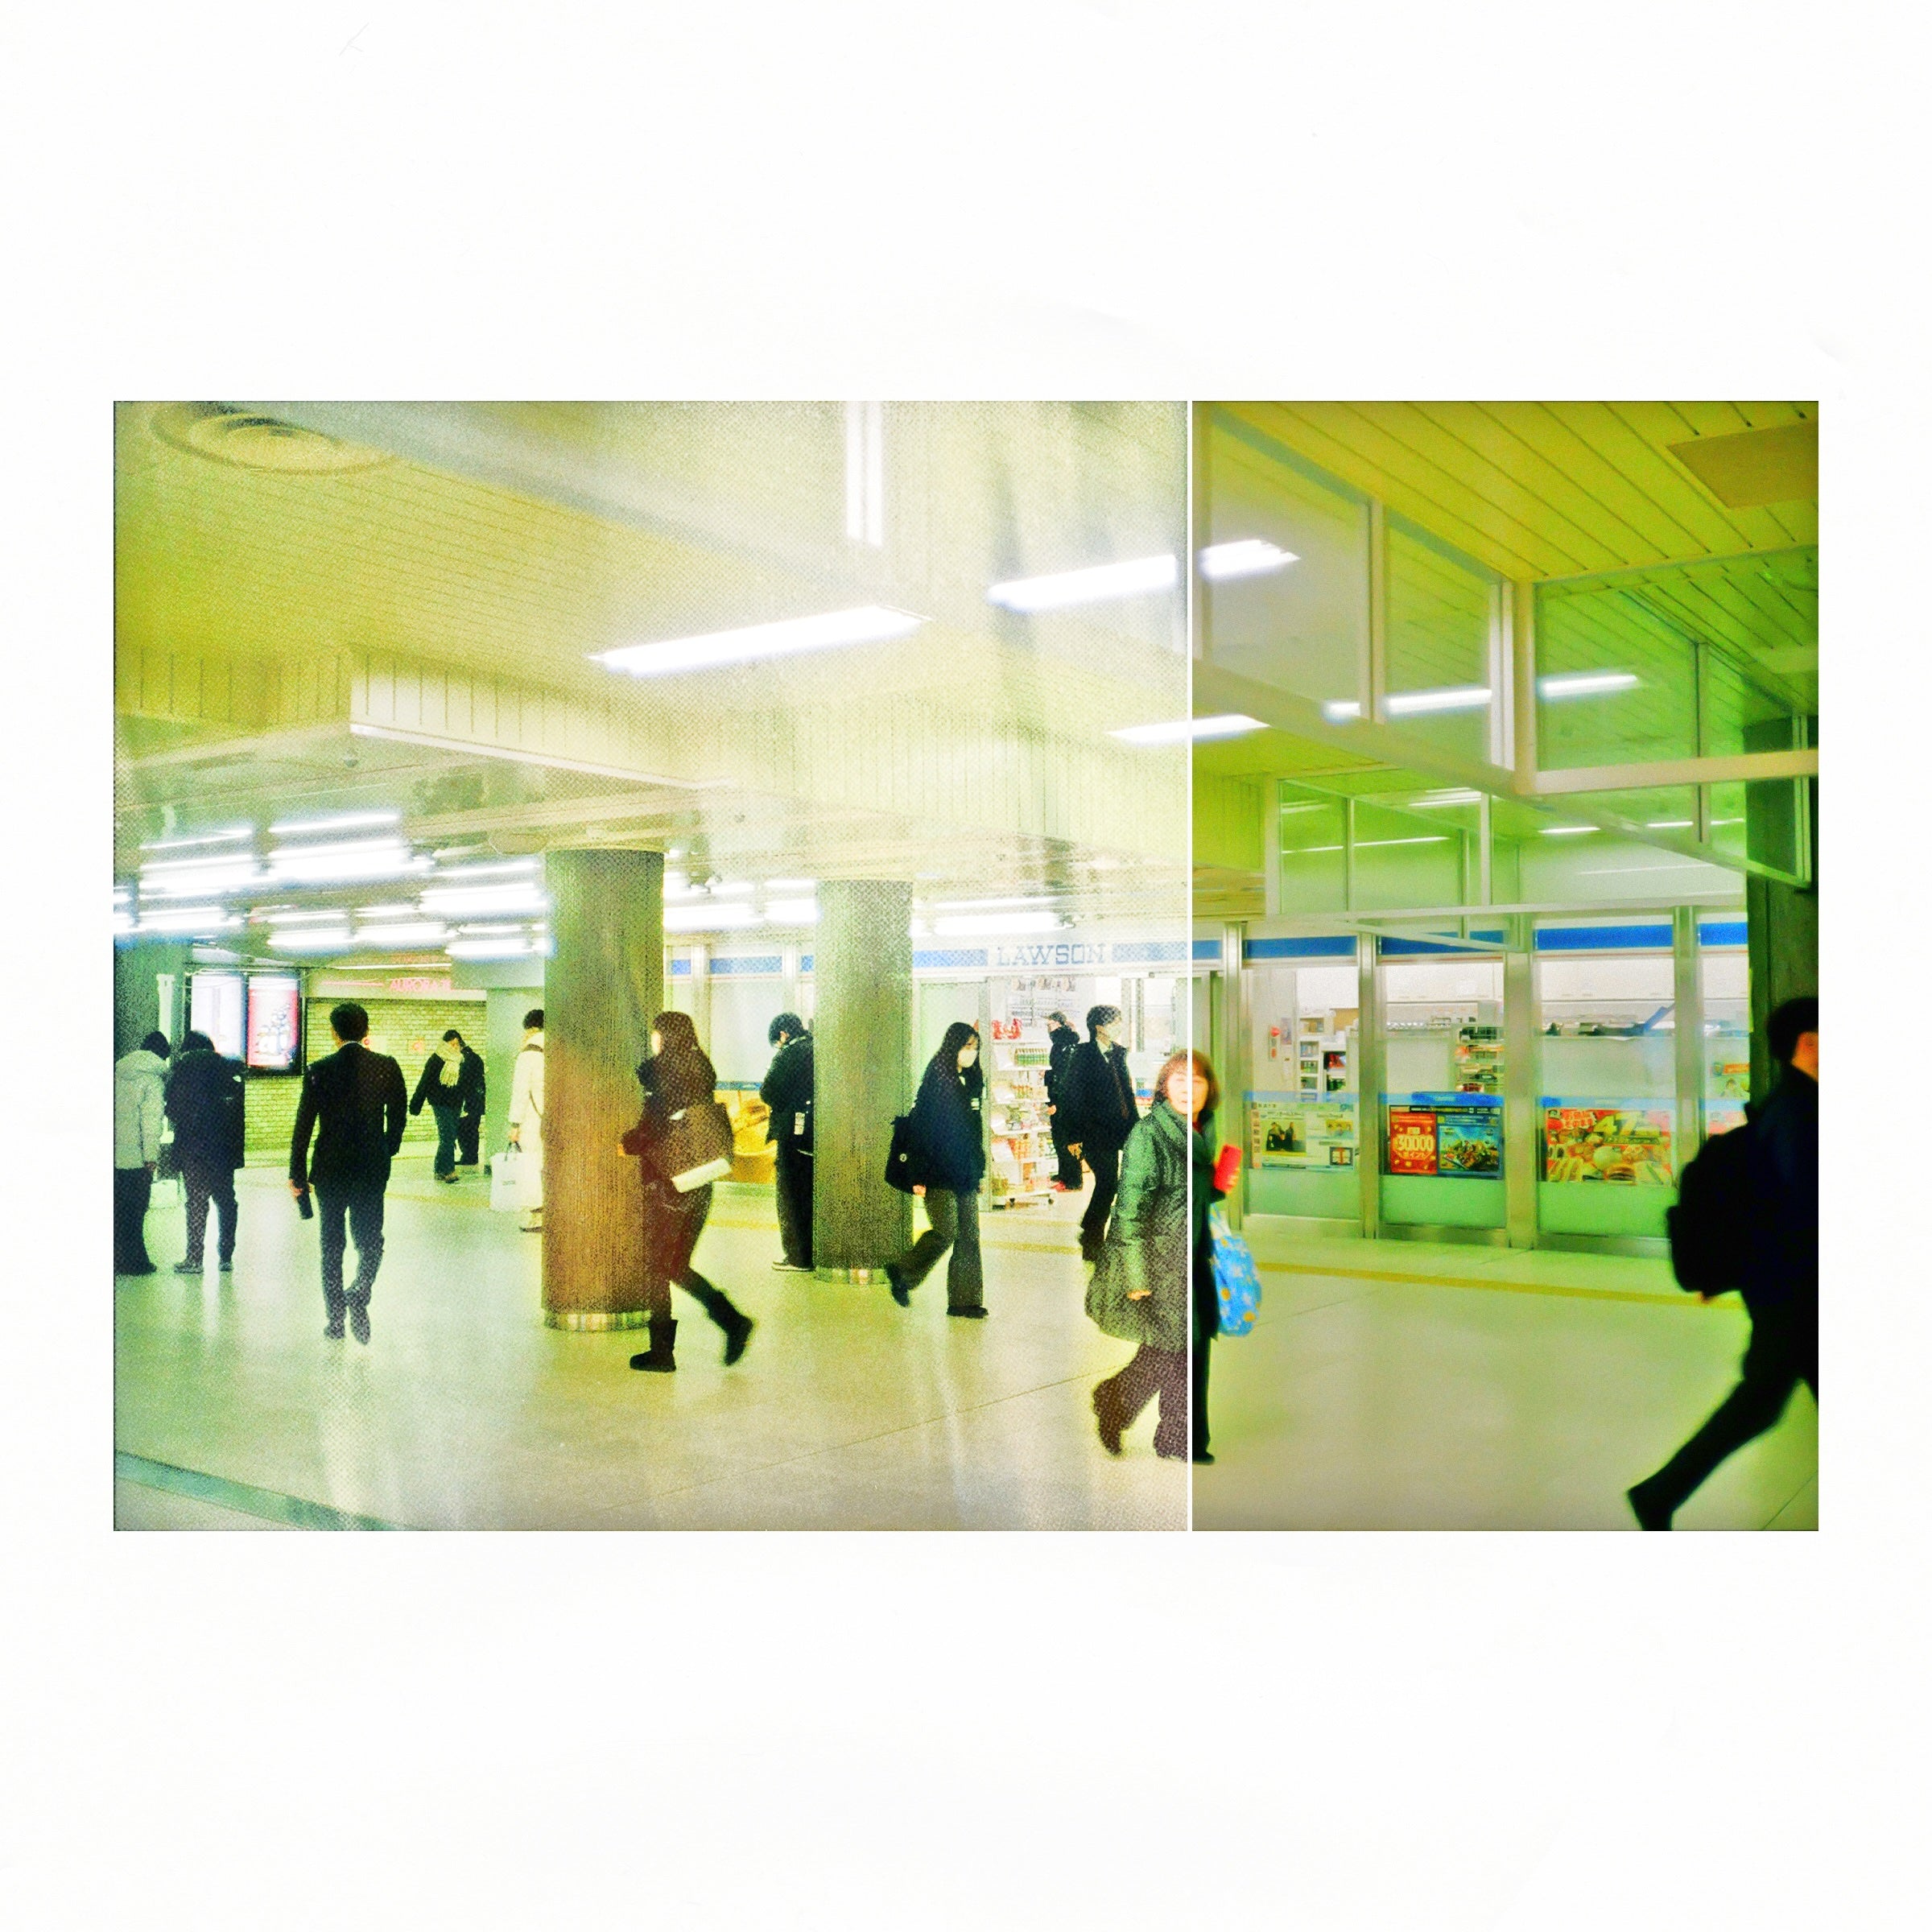
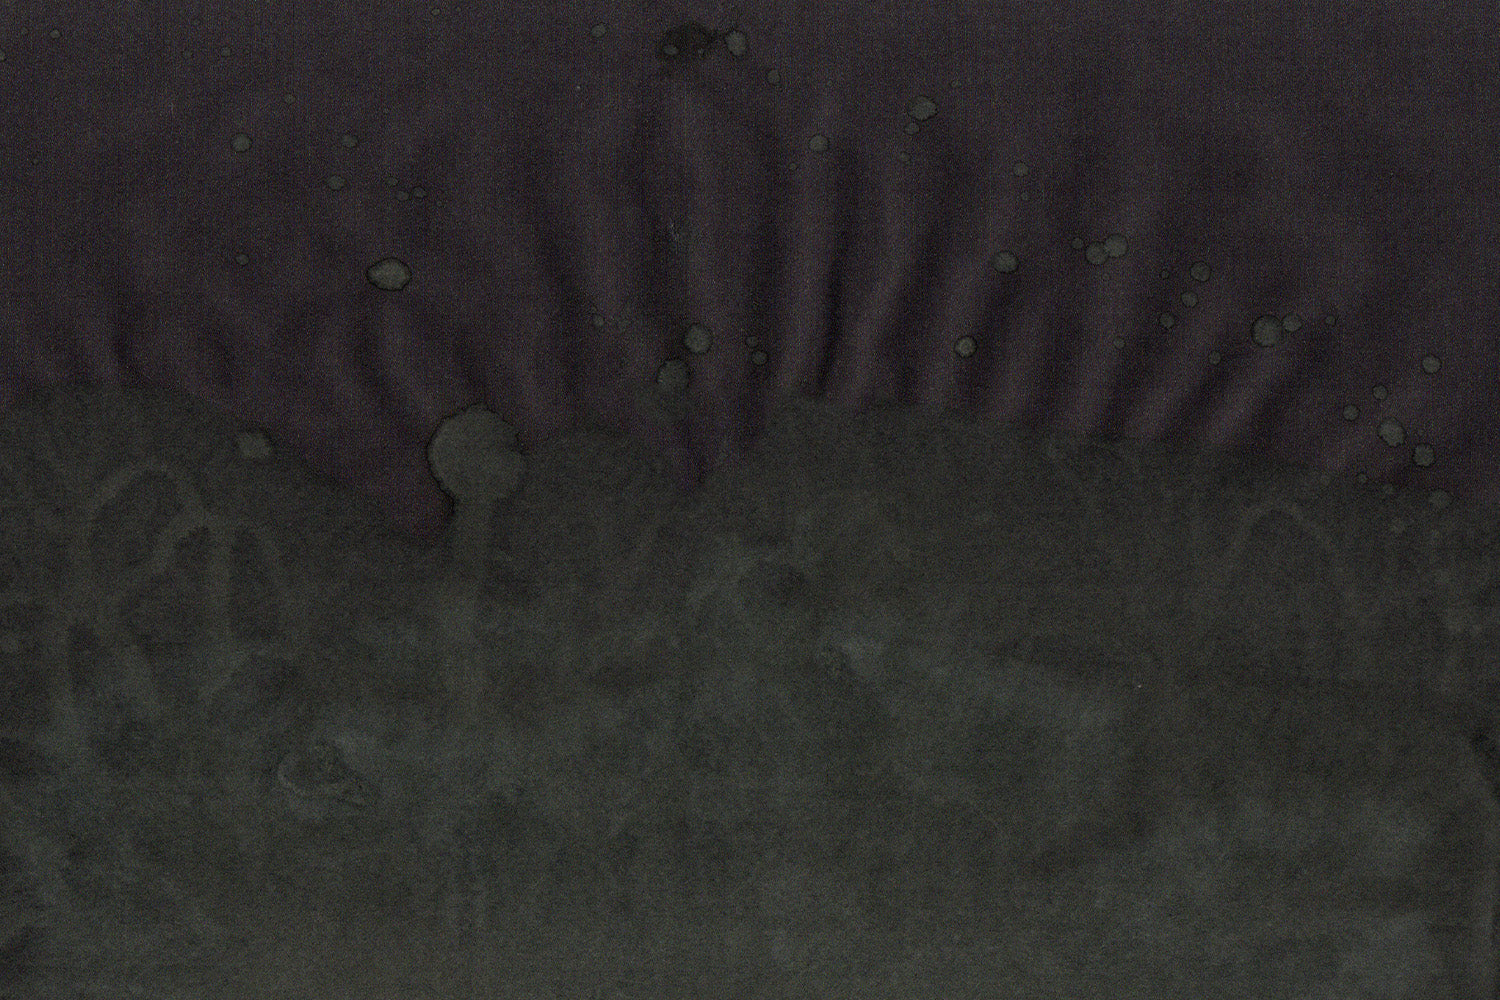
Elevate the look of your artwork with our Water Damaged Scans for a truly unique effect, mimicking the aesthetic of water-damaged old paper. We offer all these textures in high-resolution, perfect for detailed, intricate projects.
In conclusion, mastering the art of adding a paper texture in Photoshop can significantly elevate the impact of your digital artwork. Dive in and start experimenting with our Paper Vol. 1, Water Damaged Scans, and Grunge Paper collections. We can't wait to see what you create.